Photo Mode in Ren'Py
A downloadable asset pack
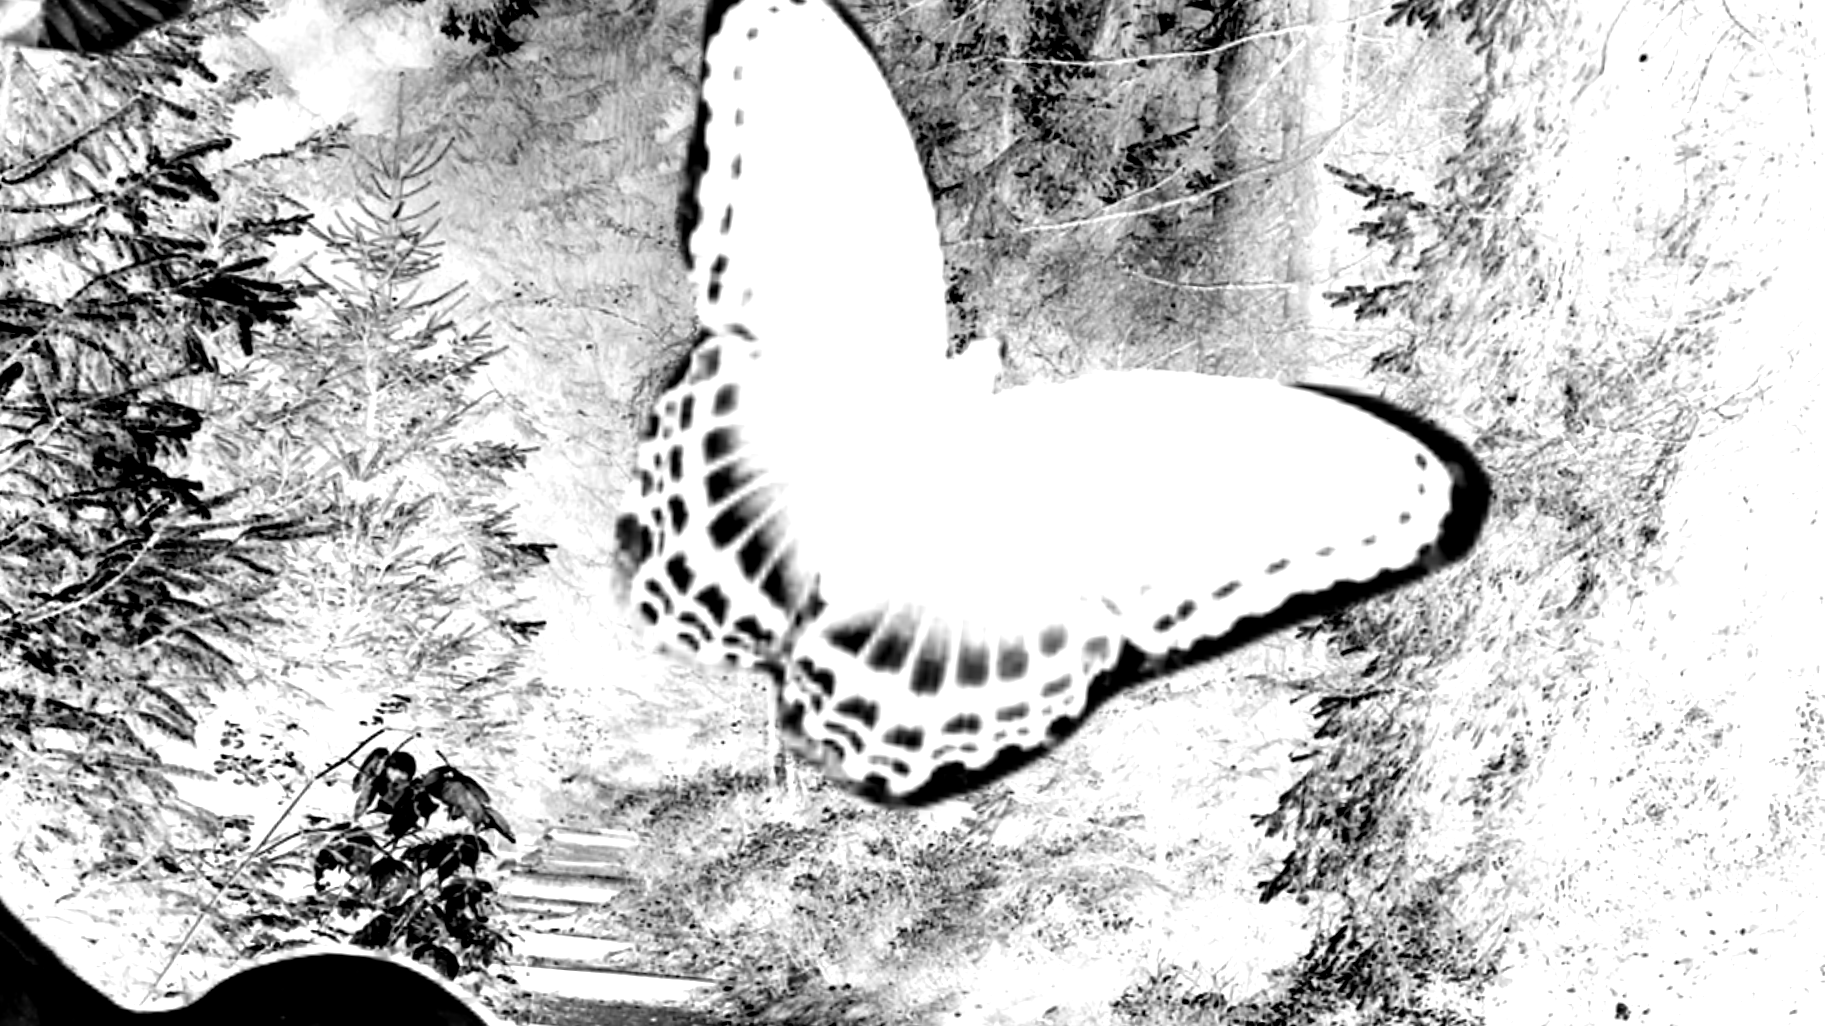
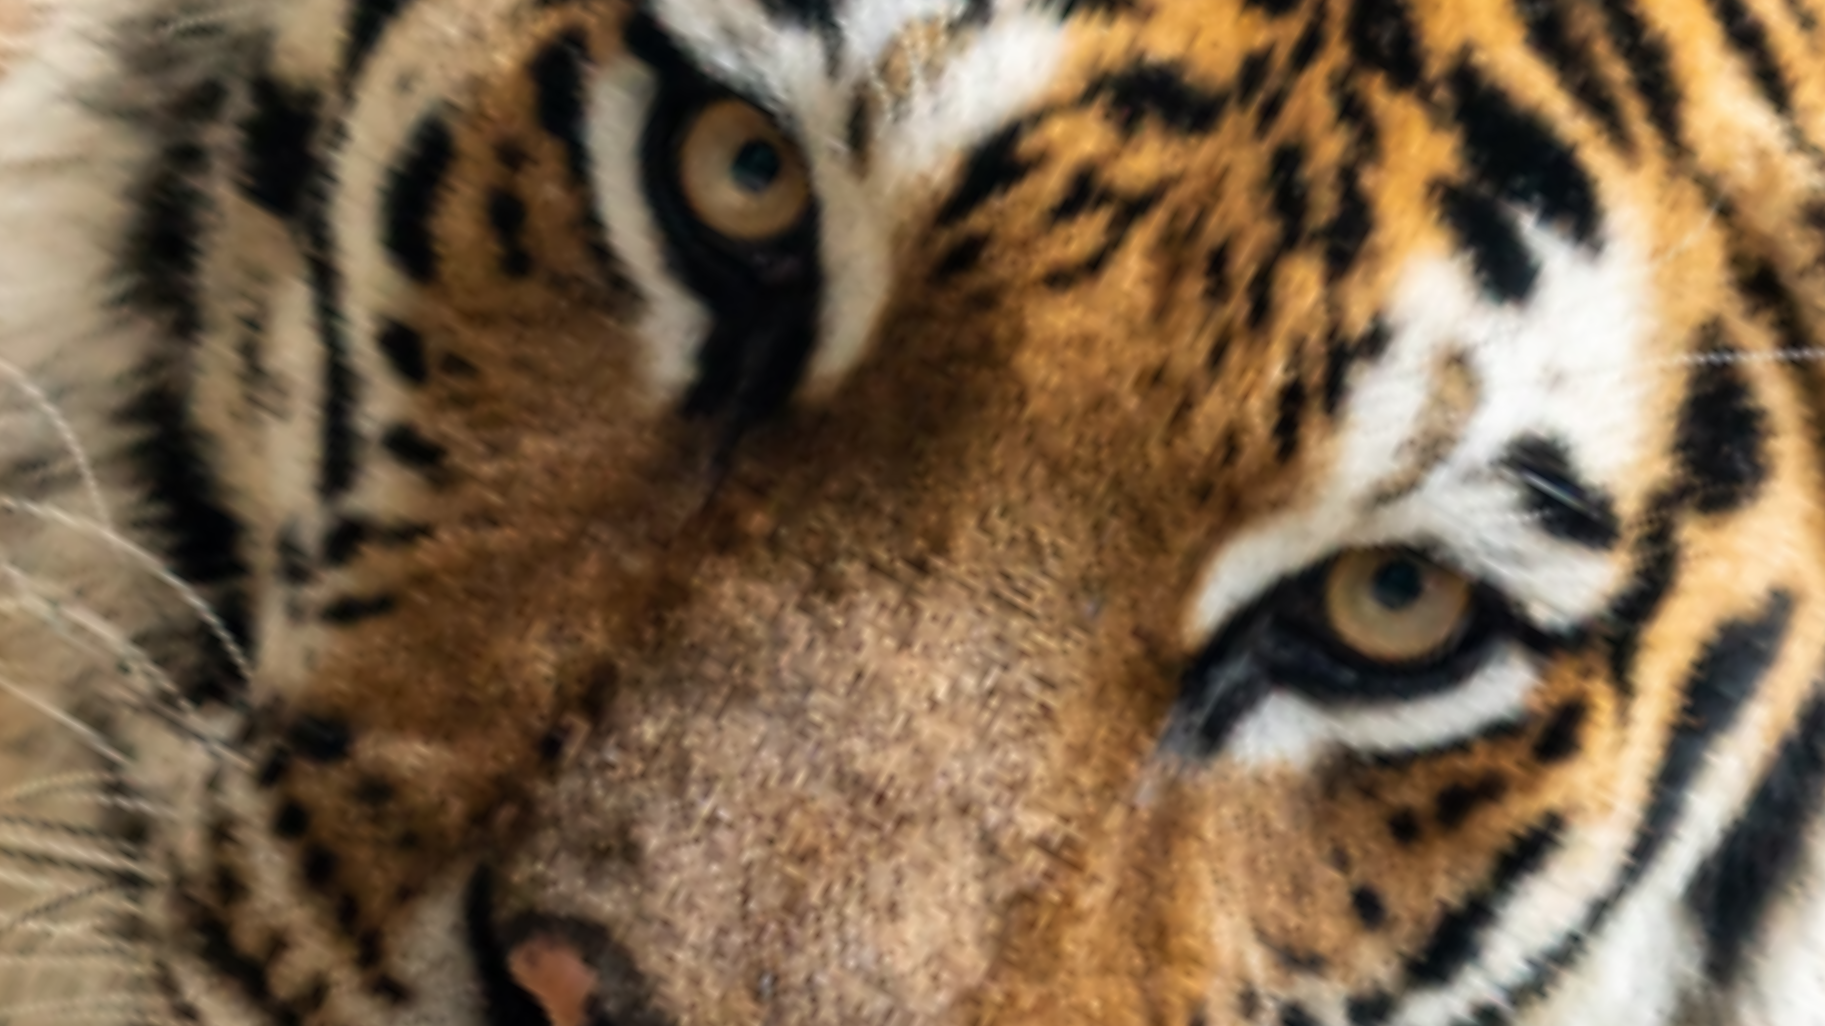
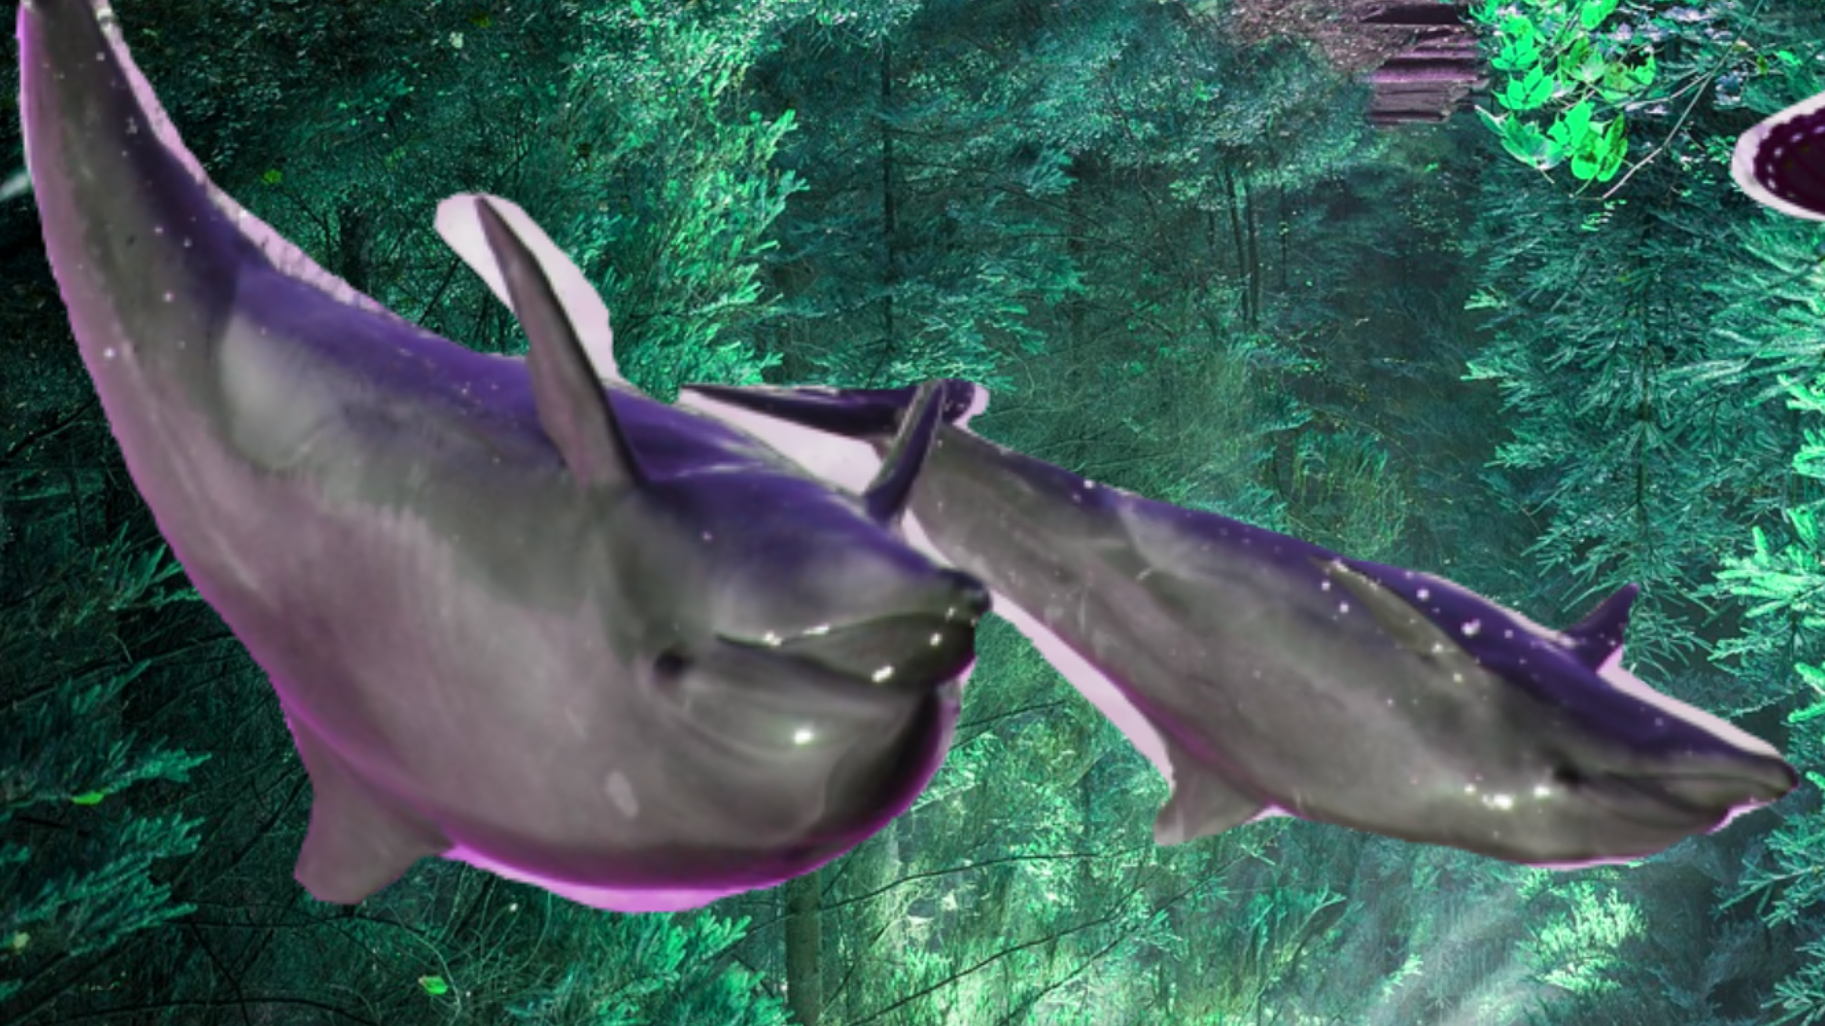
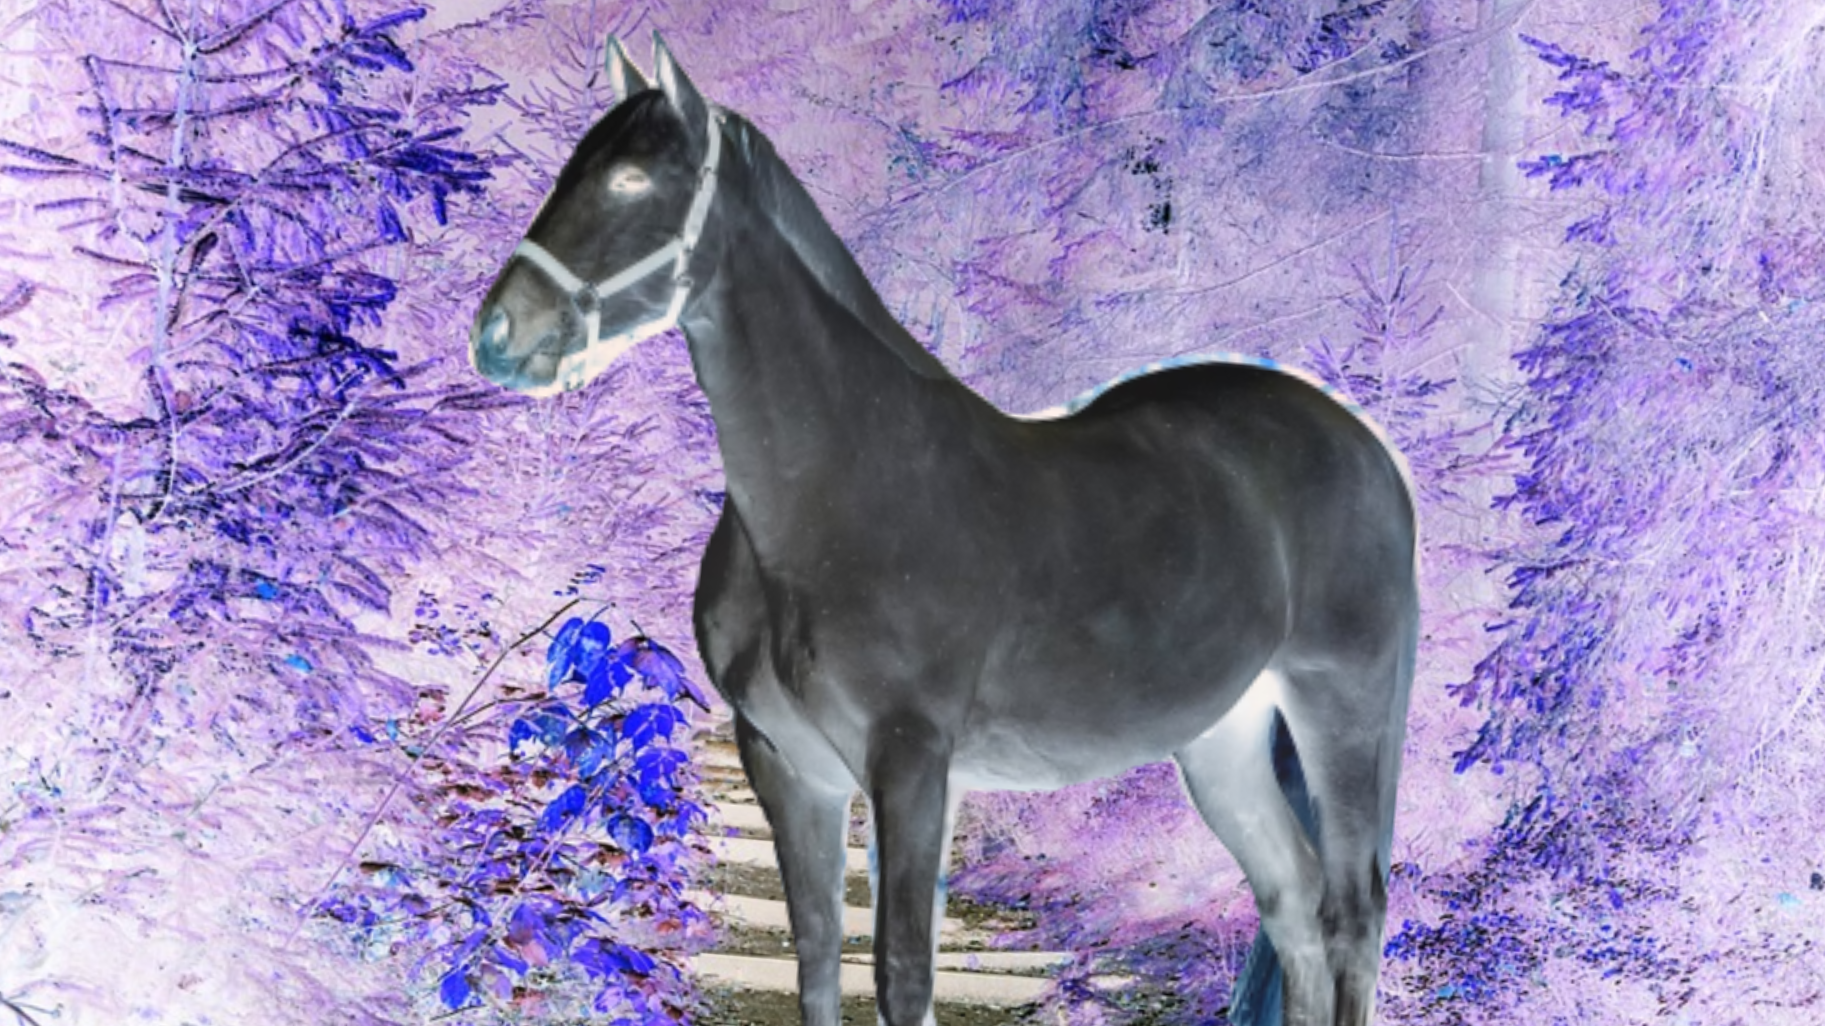
Considering that visual novels are 50% visual, it would be nice if your players had a way of taking personalised screenshots of YOUR game that they can share with their friends. Maybe someone will think "Oh that game looks interesting" and the next thing you know your game has blown up on social media.
- Take personalised screenshots at any time to capture that viral moment.
- A color editing menu to spice up your photos.
- Developer tools that return camera ATL that you can reuse in your script.
- Configurable constant parallax effect.
Requires Ren'Py Version 8.3.0+
Terms of use
The full license can be found inside the file and should not be removed.
You may use, modify, and distribute this code under the following conditions:
- ATTRIBUTION: You must provide appropriate credit, a link to the original source (this page probably), and indicate if changes were made. For example, inside your extended credits or About screen.
- COMMERCIAL USE is NOT allowed without prior permission from CuteShadow. Further QA is required. It will be fine to drop into your random jam games, though.
How to install in 2 easy steps
- Download the file and put it in your Ren'Py /game folder:
- Write camera at photo_mode_active immediately after the start label:
label start:
    camera at photo_mode_active
    # The rest of your game.
- (Alternatively, you can watch this really short video tutorial.)
How to use
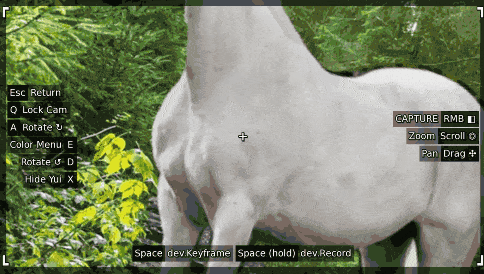
Turning it on
- Photo Mode replaces the "Hide UI" action that happens when you press the 'H' key. Just press 'H' while your game is running a scene.
- Alternatively, to provide the player an actual button, just call the HideInterface() action (for example as part of your quick_menu screen):
screen quick_menu():
    hbox:
        textbutton _("Back") action Rollback()
        textbutton _("History") action ShowMenu('history')
        textbutton _("Skip") action Skip()
        textbutton _("Auto") action Preference("auto-forward")
        textbutton _("Save") action ShowMenu('save')
        textbutton _("Q.Save") action QuickSave()
        textbutton _("Q.Load") action QuickLoad()
        textbutton _("Prefs") action ShowMenu('preferences')

        # A Photo Mode button.
        textbutton _("Photo Mode") action HideInterface()
The 3D Stage and Parallax
- The parallax effect will only work if your backgrounds, foregrounds, sprites, etc. are placed at different depths (like real life). Otherwise it will look like we're just panning a flat png which may or may not be what you want.
- You can manually set the zpos of every image in your scene. There's a convenient `zdistance(z)` Transform included.
- Alternatively, you can tag your backgrounds with `bg`, and foreground objects with `fg` and they will automatically take on the `near` and `far` Transforms defined inside the file. respectively.
- For more information about the 3D stage, you can watch this VN:Conference talk
image bg room = "room01.png"
image fg chair = "chair02.png"
show bg room
show eileen happy
show fg chair
e "I am sitting in a room and there is a chair in front of me."
FAQ
- Q: My background has disappeared and all I can see is the chequerboard pattern.
- A: Did you write camera at photo_mode_active immediately after your start label? It turns on the perspective for you.
- Q: Photo Mode works in the beginning but suddenly stopped working.
- A: Did you accidentally override the camera's photo_mode_active Transform? Use the built-in recording tools and it will give you the correct code.
- Q: I made a recording using Photo Mode but nothing happened.
- A: ATL Code will be copied into your clipboard after the recording is finished. Paste the code into your script where you want the animation to happen.
Advice
- You should only record ATL on neutral scenes (with the camera zero'd). If the scene you are currently looking at has its camera moved, then any ATL recorded by the camera will be relative to that funky position, which will be wrong, because Ren'Py ATL is global (zpos -1000 is exactly zpos -1000, and not -1000 from the previous zpos).
- This was a purposeful design decision not to reset the camera whenever Photo Mode is activated so that the screenshot your player is taking looks exactly like the scene they activated Photo Mode from, rather than having to recreate the same cinematography because the camera was reset.
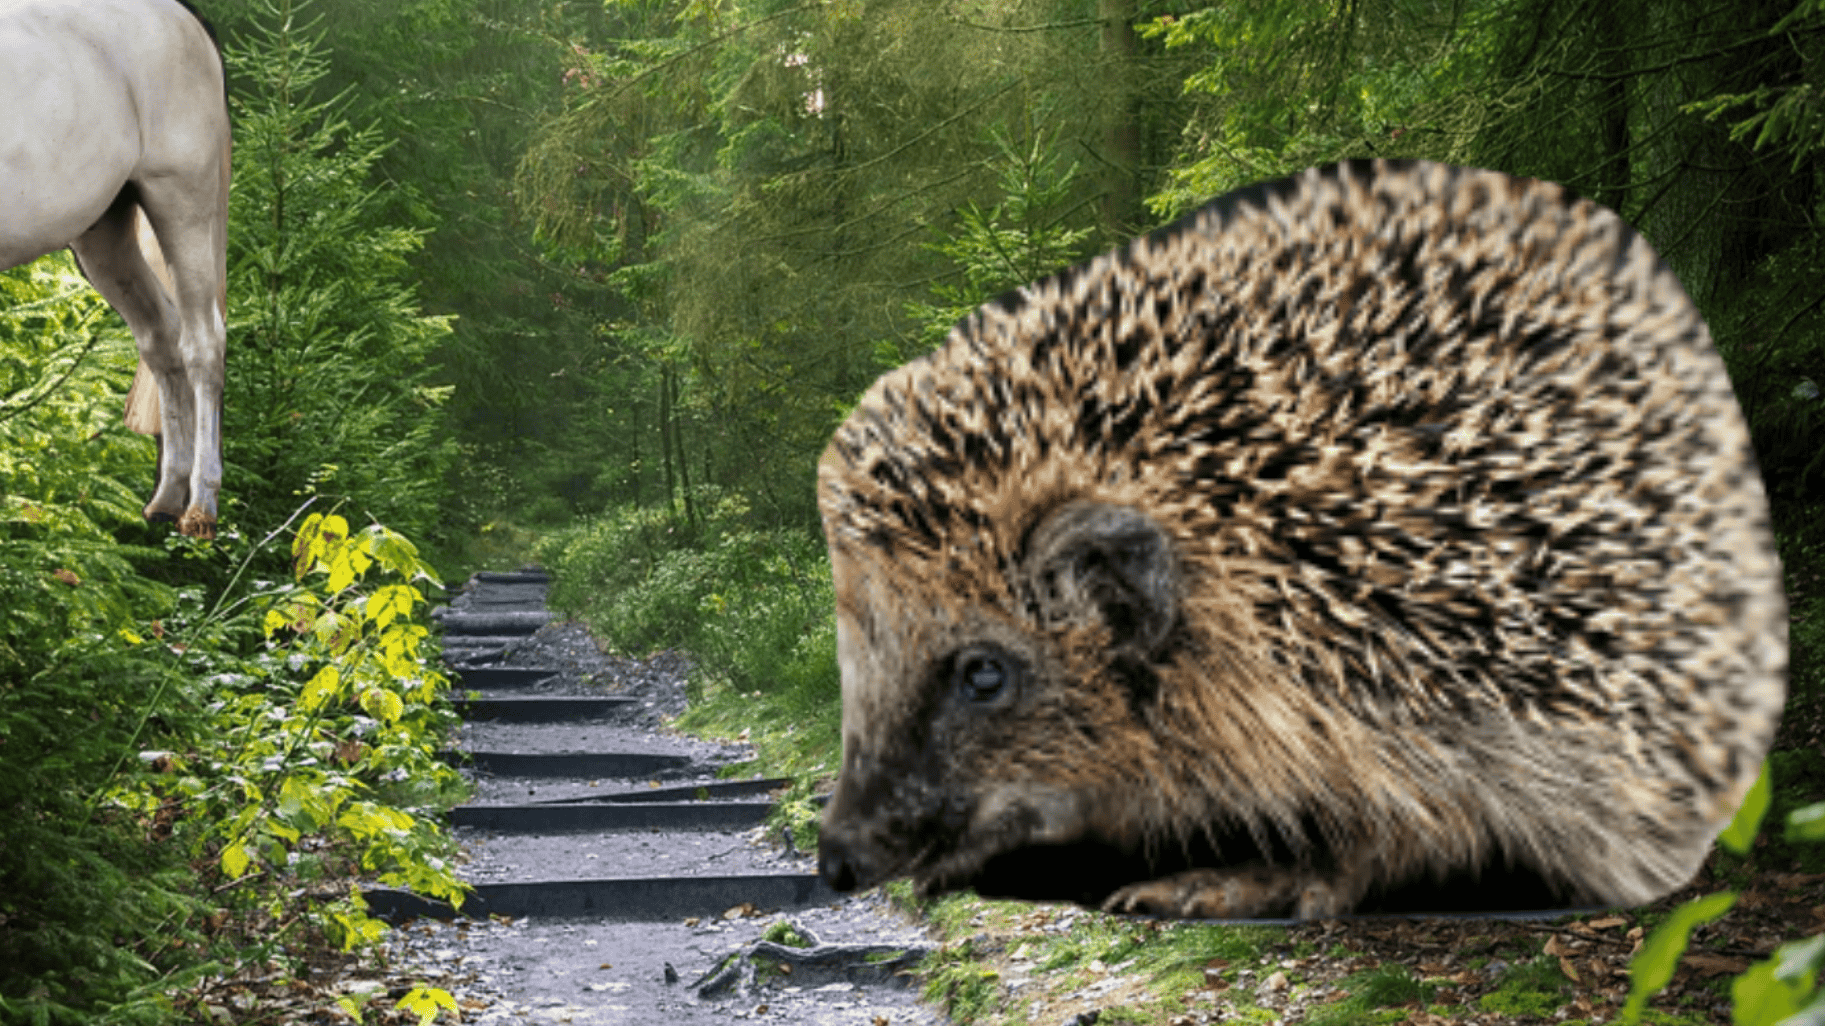
- In non-developer builds, the chequered background will be replaced by black by default whenever the camera is placed in a way that exceeds the bounds of your background. You can make your background bigger, and/or zoom the camera in (which is another flavor of making your background bigger). Likewise, if your sprites don't have legs, Photo Mode will reveal that.
Changelog
- 2/14/25 - Unindexed - Release version. Please update to the latest version.
- 2/15/25 - Version 1.2 - Fixed the issue where recording with the camera would suddenly cause images on any zpos other than 0 to jump around. There is now a new clipboard output, and the p_photo_mode_active Transform has been removed because it didn't actually work as intended. This is incompatible with the release version because the clipboard output is different.
Known Issues
- Camera position resets if the player has Photo Mode activated mid animation. This is because the process tracking the camera's position had no time to do it.
- The color menu resets the matrixcolor property even if one has been applied ingame. This is because transform inheritance is really fun.
Download
Click download now to get access to the following files:
Comments
Log in with itch.io to leave a comment.
WHOA HELL YEAH
Leaving this question here so other people can see it.
What do you suggest for situations where I want the photo mode to be active but I also want to use the camera for another transform?
(some people may miss p_photo_mode_active(time). I figure someone might open this page looking for that function)
If you look at the changelog you'll notice that transform has been removed. This is because it didn't do what it was actually supposed to do.
The new clipboard copy outputs the camera transform so that it does the animation first, then reactivates photo_mode_active.
Without a suitable backdoor to the camera, the only way for me to control it is to apply the transform manually.
camera: # animation photo_mode_activeThank you for the answer!
Hi. Great project, just a heads up for any other devs that adding the cute_photo_mode.rpy in my VN made all my backgrounds break, showing Image new_bg not found at the top. Would either have a black screen or white and grey tiled screen. Might just be for my project, but figured I'd mention it here.
Make sure to turn on the camera perspective by applying the photo_mode_active transform to the camera as shown in the FAQ and How To Install. It's a 3D camera so it needs perspective to be turned on. There's a YT Shorts and the longer tutorial if you need it.
I don't have "new_bg" defined anywhere inside Photo Mode so that must be somewhere in your project.
Note that if you dont tag you backgrounds with "bg", the far transform won't be applied automatically and there will be no parallax unless you manually set the zpos yourself.
This has only dropped for a couple days and I already have it setup on every single project I have, past and future. Very fun to use and definitely not for me to procrastinate from my actual work. It’s so easy to manipulate that I have actually used it to draft ATLs.
heck. yeah. the all-bangers cuteshadow ren’py plugins continue i see