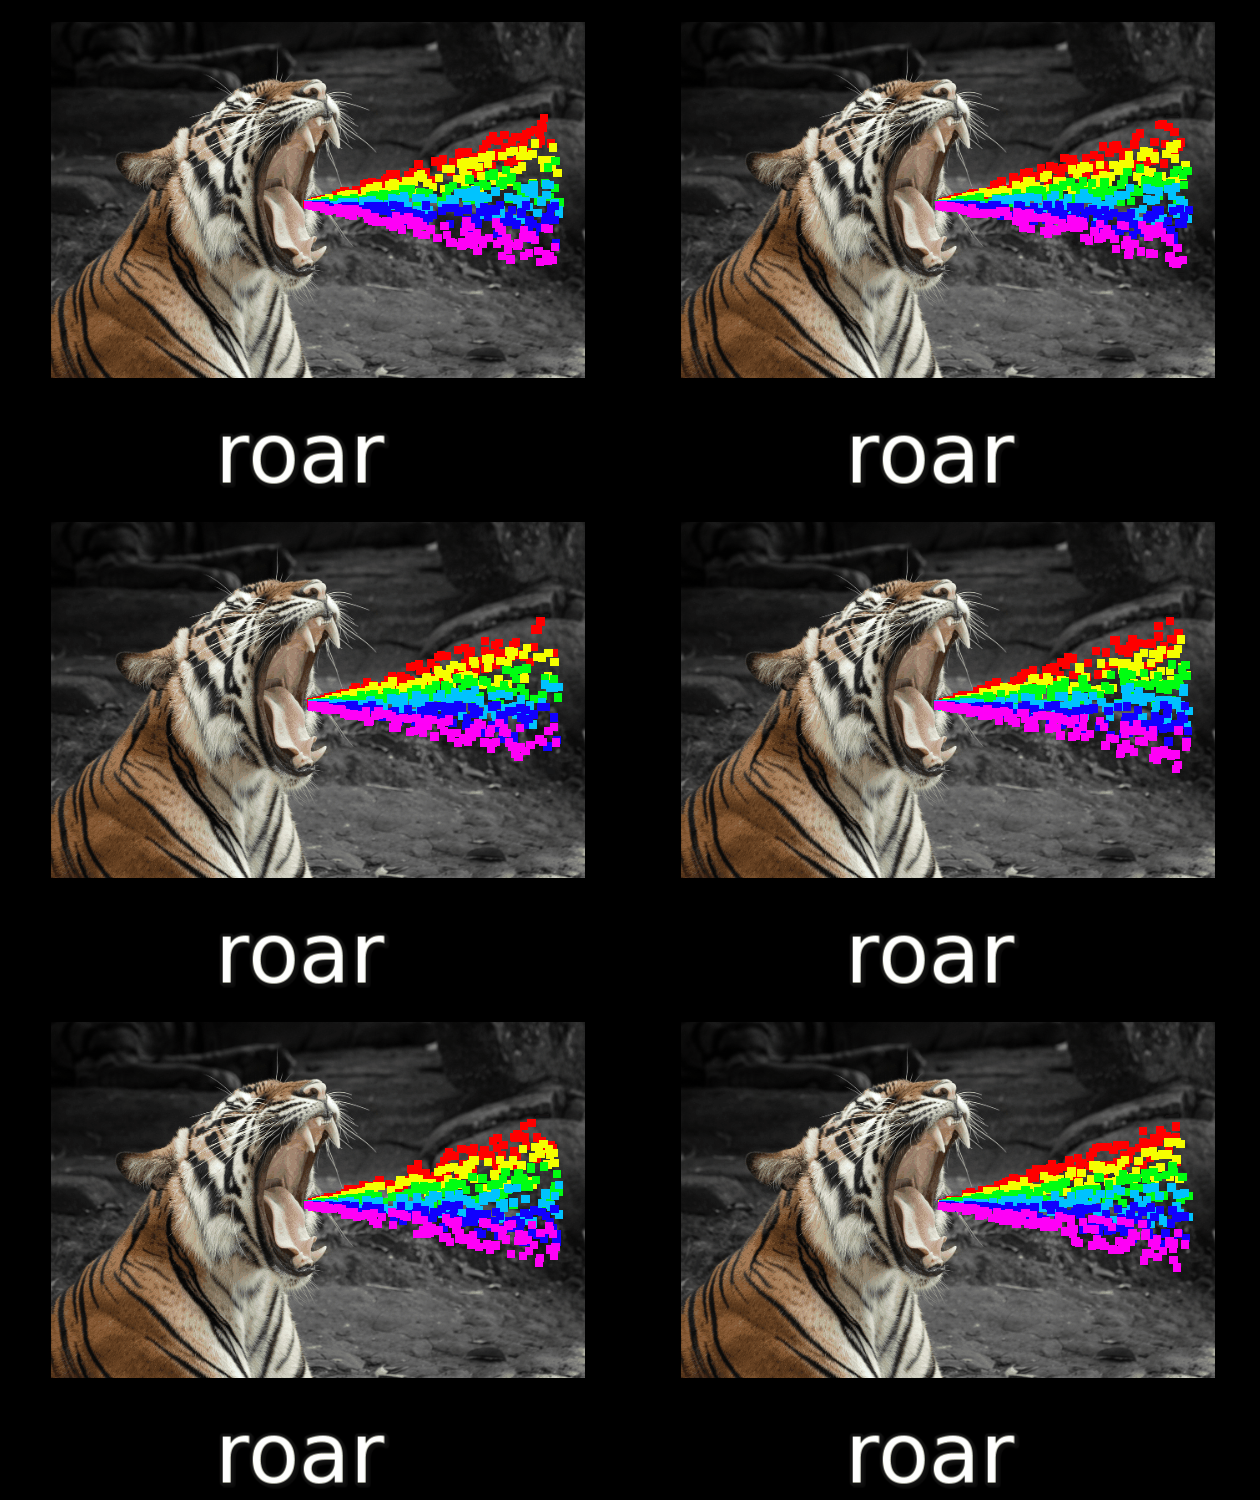
Particles: Point Emitter in Ren'Py
A downloadable asset pack
Download NowName your own price
You can:
- `sprite` - Use your own particle image. Any displayable.
- `count` - Change the particle count.
- `pos` - Move the particle origin source.
- `radius` - Set the radius for how far the particles move from the origin.
- `rotate` - Rotate the entire effect (degrees).
- `slice` - Set an angle (degrees) for the particles to generate in (e.g. full circle or slice).
- `speed' - Set the particle speed.
- `warmup_time` - Stagger the particles so there is a cooldown period between each one showing up (If you set it to 0 they will all come out simultaneously and "pulse").
MIT License.
How to install
Everything you need is in the rpy file. Just put it in your /game folder.
How to use
image my_lovely_emitter = PointEmitter(sprite="eileen happy", ...)
show my_lovely_emitter with dissolve
Changelog
- 9/1/25 - V1.1 - Released
- n.d. - V1.2 - Supports negative speed
- 2/17/25 - V1.2.1 - cute_particle_system_types removed because it was mistakenly added... (...too early 😉🤫)
- 2/17/25 - V1.2.2 - Changed the file example to use image definition rather than define
| Status | Prototype |
| Category | Assets |
| Rating | Rated 5.0 out of 5 stars (3 total ratings) |
| Author | CuteShadow |
| Genre | Visual Novel |
| Tags | Asset Pack, Effects, Ren'Py, Shaders |
Download
Download NowName your own price
Click download now to get access to the following files:
cute_point_emitter.rpy 7.3 kB


Comments
Log in with itch.io to leave a comment.
Looks interesting. I was just looking for an alternative to ParticleBurst for new versions, so I hope it works well.
This is super cool!
I tried using an emitter inside a screen and when I do that, the emitter works, but it seems to completely ignore the warmup_time parameter and always send particles in waves.
Is there a way to use the emitter inside a screen?
Thank you for your amazing work!
Something like this should work
If you add PointEmitter directly to the screen it will mess up the animation since the screen will make a new PointEmitter every time it decides to update itself.
image my_emitter = PointEmitter(count=500, warmup_time=20.0, slice=270) screen emitter_test(): add "my_emitter" at truecenterThis worked indeed! I was being foolish :)
Thank you so much for both the assistance and for this cool library!
Question: Does this accept defined displayablea? So like, an image that uses atl?
yes!
thanks
It looks cool! I really like the point emitter in Light.vn and having an easier access to do the same thing in Ren’py is so nice.
okay i have no idea what i’m going to use this for but i’ve GOT to figure something out because it looks rad. ;D